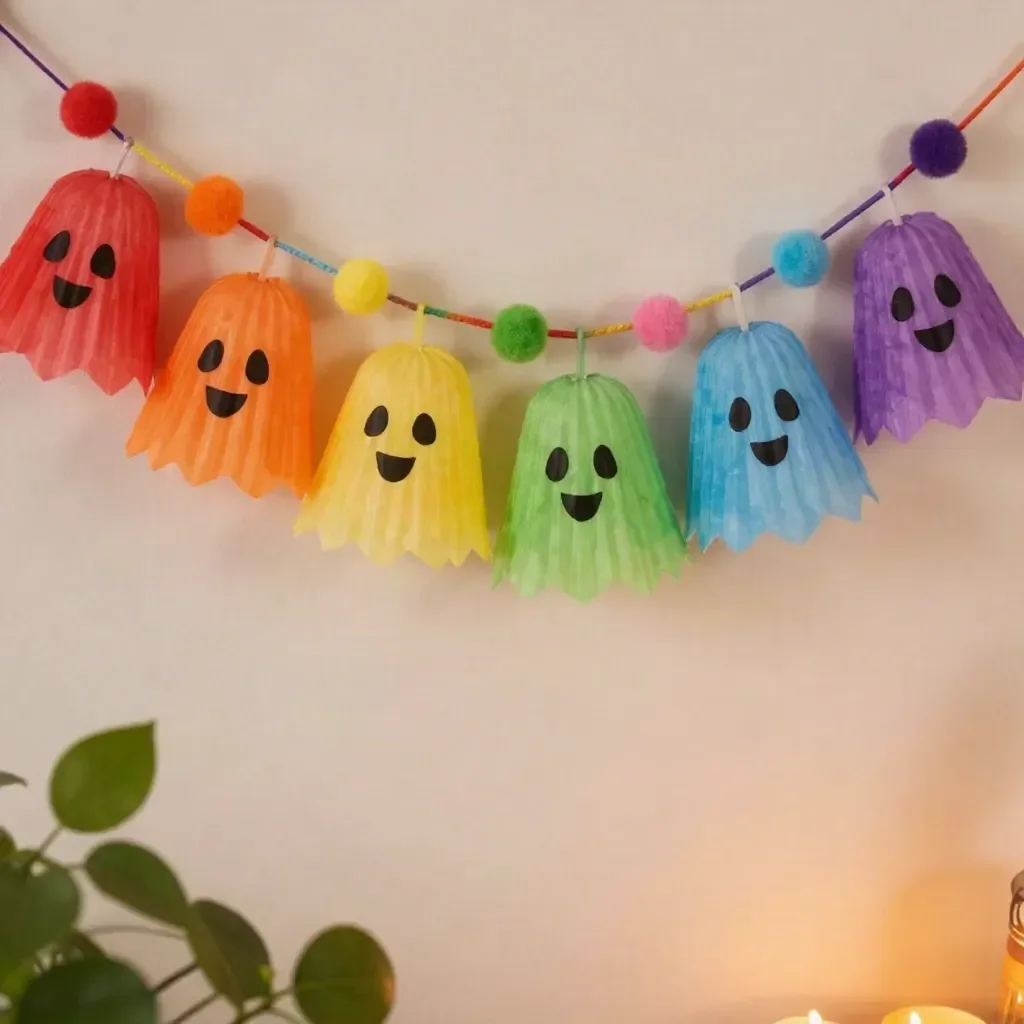
The Rainbow Ghost Cupcake-Liner Garland has a special charm that draws attention from anyone who sees it. With its colorful, whimsical design, this project brightens up any space and brings a touch of fun to your home. The process of creating these ghostly decorations transforms everyday materials into something imaginative and enchanting, making it perfect for family craft time. You may also find Iridescent Rainbow Ghost Window Suncatcher useful.
What Makes This Work
This garland utilizes the transformation of simple cupcake liners into vibrant ghost decorations. When you paint the bottoms of the liners, the colors blend seamlessly, creating a soft, beautiful effect. As the paint dries, the once plain liners become vibrant canvases ready for decoration. The black marker adds a playful touch with friendly ghost faces, and the rainbow yarn, combined with mini pom-poms, elevates the overall design, making it a delightful sight. You may also find Baking Soda Rainbow Crystal Forest Rainbow Crystals useful.
Materials
- 12 white cupcake liners
- Rainbow watercolor paint
- Black marker
- Rainbow yarn
- Mini pom-poms
- Glue
You may also find Baking Soda Rainbow Crystal Forest useful.
Steps
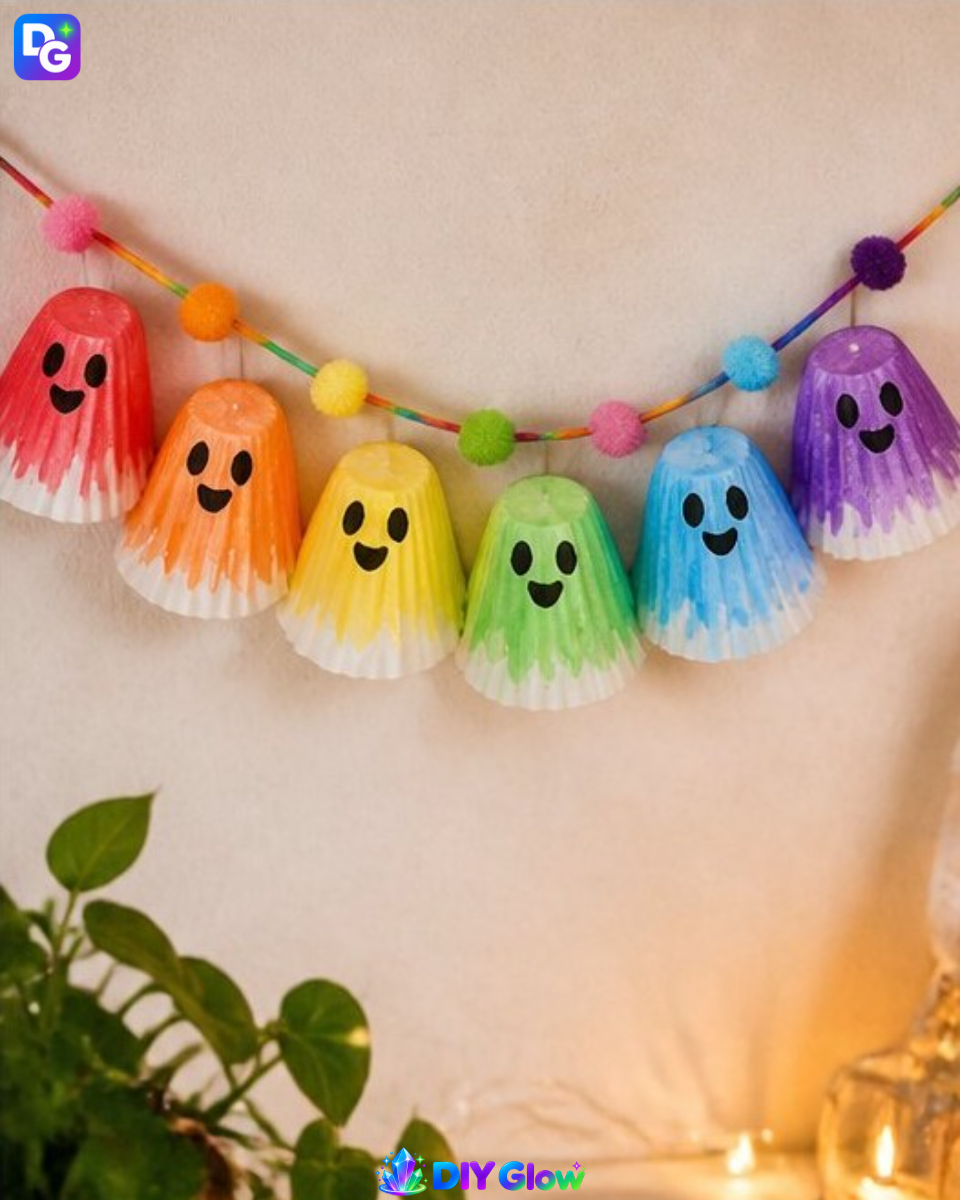
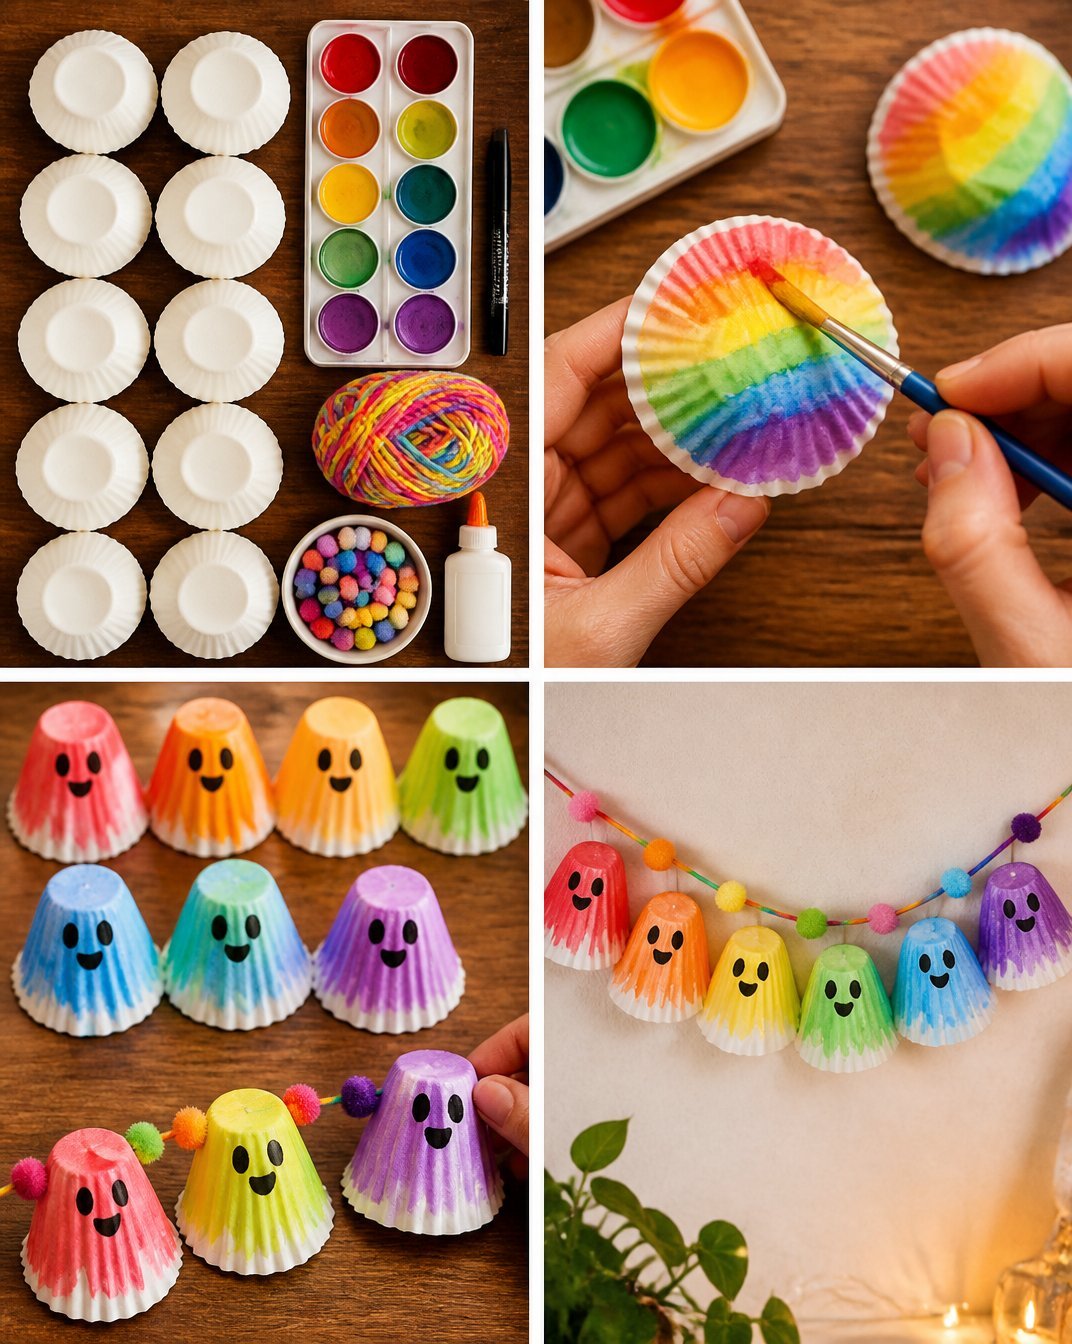
Start by painting the bottoms of the cupcake liners with soft rainbow washes, blending colors for a beautiful effect. Look for the way the colors merge and brighten the surface as the paint goes on.
Once the paint has dried completely, turn the liners upside down and draw friendly ghost faces with the black marker. Ensure the paint is dry to avoid smudging, and notice how the black stands out against the colorful background.
Take the colorful yarn and thread it through the center of each ghost, alternating with mini pom-poms for added color. This creates a playful rhythm to the garland, and you’ll see how the yarn complements the vibrant colors of the ghosts.
Allow enough time for the paint to dry completely before drawing the ghost faces. Tie a small knot after each ghost to keep them spaced evenly. This technique not only looks appealing but also helps maintain an organized, graduated effect in your garland.
Hang the garland in a visible spot, such as across a mantel or over a doorway. The bright colors and cheerful designs will be eye-catching, making your space feel festive.
What Goes Wrong and How to Fix It
Sometimes, the paint might not blend as beautifully as expected. If you notice harsh lines instead of soft transitions, try adding a bit of water to your brush to help the paint flow better. If the ghost faces smudge, ensure your hands are dry and clean while drawing to avoid any unintended mess.
Not all cupcake liners will take paint the same way. Some may absorb too much paint, resulting in a warped shape. To fix this, allow them to dry completely before moving them. If they still lose shape, you can carefully reshape them while they are still slightly damp.
Where to Display It
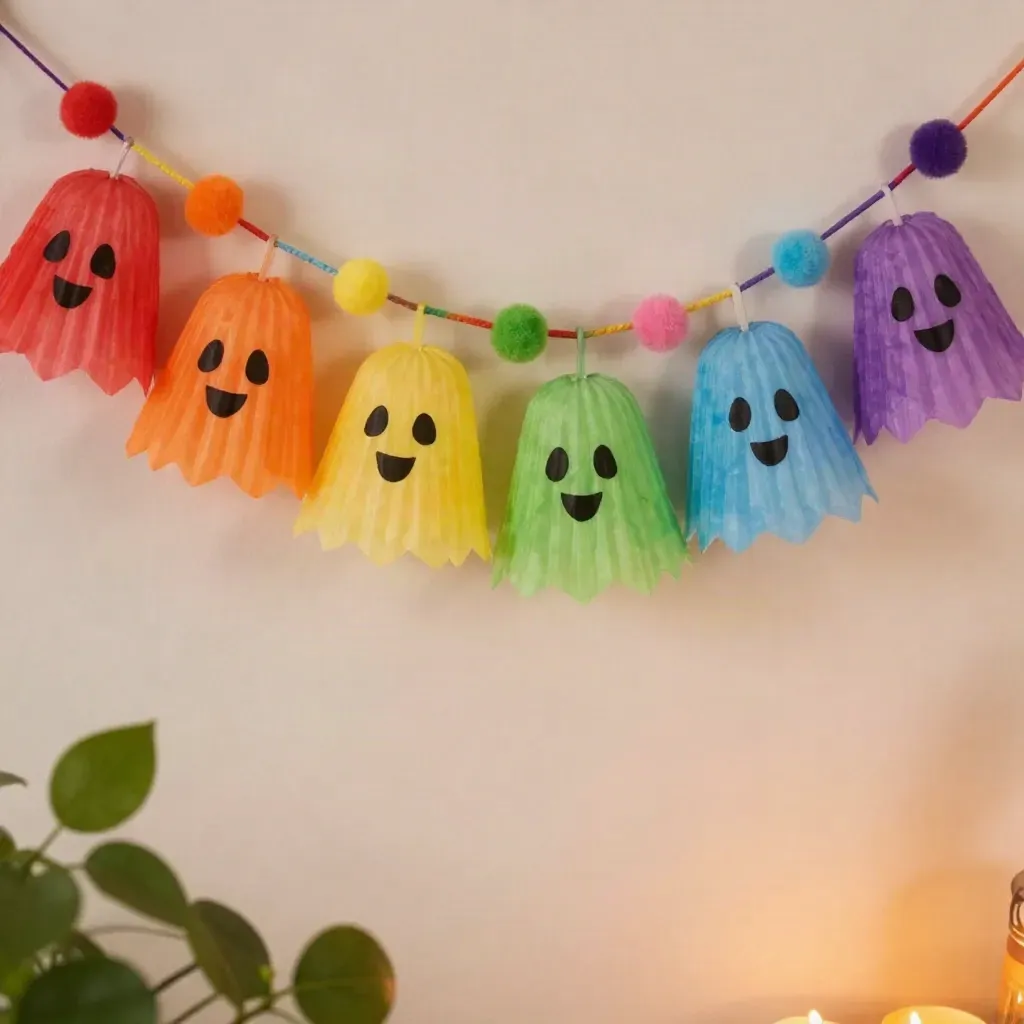
Once you complete the garland, it is great to display in various spots around your home. You could hang it across a mantelpiece, where it catches the light as the sun shines through, or drape it over a doorway for added charm. For those looking for additional colorful decorations, consider checking out this charming rainbow butterfly decoration here, which complements the festive spirit of the garland.
Variations
Feel free to experiment with your design! Instead of ghost faces, try drawing other friendly creatures or shapes that fit your theme. You can also use metallic paints for a shimmering look or add more mini pom-poms for extra color. For another fun activity, consider making glowing rainbow flowers using recycled crayons, which also bring joy to your crafting adventure.
FAQs
How long does this project take to complete?
The Rainbow Ghost Cupcake-Liner Garland typically takes about 1 to 2 hours, considering the painting time and how long the paint needs to dry.
Can kids help with this project?
Yes! This project is perfect for kids. They can paint the cupcake liners and help draw faces. Just keep an eye on the use of scissors and the black marker for safety.
What if my paint does not blend well?
If the paint does not blend properly, consider adding a little water to make it thinner. This can help the colors mix more effectively.
Can I use other materials instead of cupcake liners?
You can experiment with other materials, such as cardstock or fabric. Just keep in mind that drying times may vary based on the material used.
How can I store the garland after use?
If you want to store the garland, keep it in a dry place. Hanging it lightly in a bag will help maintain its shape.
What do I do if some ghost faces smear?
If the faces smear before they’re dry, try using a fixative spray once they have fully dried to prevent smudging in the future.
Conclusion
Creating the Rainbow Ghost Cupcake-Liner Garland is a fun, colorful project that adds a cheerful touch to your home decor. These delightful ghosts are sure to spark joy and creativity during your crafting time. For more fun projects like this, you might enjoy making cupcake liner carnations, or check out this guide on making a rainbow cupcake card for more colorful inspiration!
Follow us on social for more DIY ideas & inspiration!
Rainbow Ghost Cupcake-Liner Garland
Would you like to save this project?
By submitting you agree to receive this project and occasional emails. Unsubscribe anytime.
Materials
Materials
- 12 pieces white cupcake liners These serve as the base for the ghost decorations.
- 1 set Rainbow watercolor paint To create the vibrant colors of the ghosts.
- 1 piece black marker For drawing friendly ghost faces.
- 1 ball Rainbow yarn To string the ghosts together.
- 1 bag mini pom-poms For added color and decoration.
- 1 bottle Glue To secure any decorations.
Directions
Preparation
- Start by painting the bottoms of the cupcake liners with soft rainbow washes, blending colors for a beautiful effect.
- Once the paint has dried completely, turn the liners upside down and draw friendly ghost faces with the black marker.
- Take the colorful yarn and thread it through the center of each ghost, alternating with mini pom-poms for added color.
- Tie a small knot after each ghost to keep them spaced evenly before hanging the garland.
- Hang the garland in a visible spot, such as across a mantel or over a doorway.
Last Step: Don’t forget to leave a rating and comment below! It helps other readers find the best DIY projects — and it helps us too!