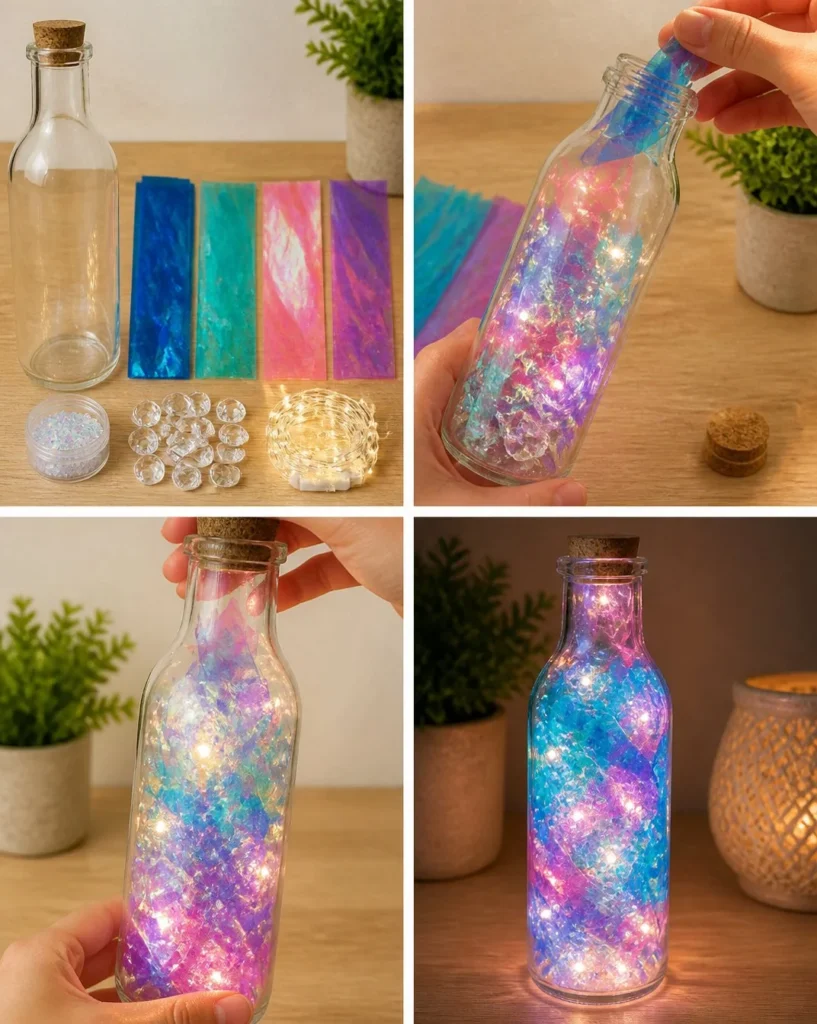
The Glowing Aurora Bottle Lantern transforms a simple bottle into a magical source of light. Imagine filling your space with colors that dance and change as if they were alive. As you create this shimmering masterpiece, you will see the iridescent hues blend beautifully blues, pinks, turquoise, and violets. The moment you switch on the micro LED lights, a warm glow spills out, creating a comforting ambiance. This DIY project captures the essence of wonder, making it perfect for families looking to spark creativity at home.
Why Make This Glowing Aurora Bottle Lantern
Creating a Glowing Aurora Bottle Lantern is an experience filled with joy and inspiration. This project blends art and science in a way that captivates both children and adults alike. As families come together to explore color and light, they cultivate a shared sense of wonder that strengthens their bonds. Children learn about light diffusion and color blending while enjoying a hands-on, engaging activity. The best part? The end result is not just a lantern. It’s a colorful centerpiece that adds a touch of magic to any room.
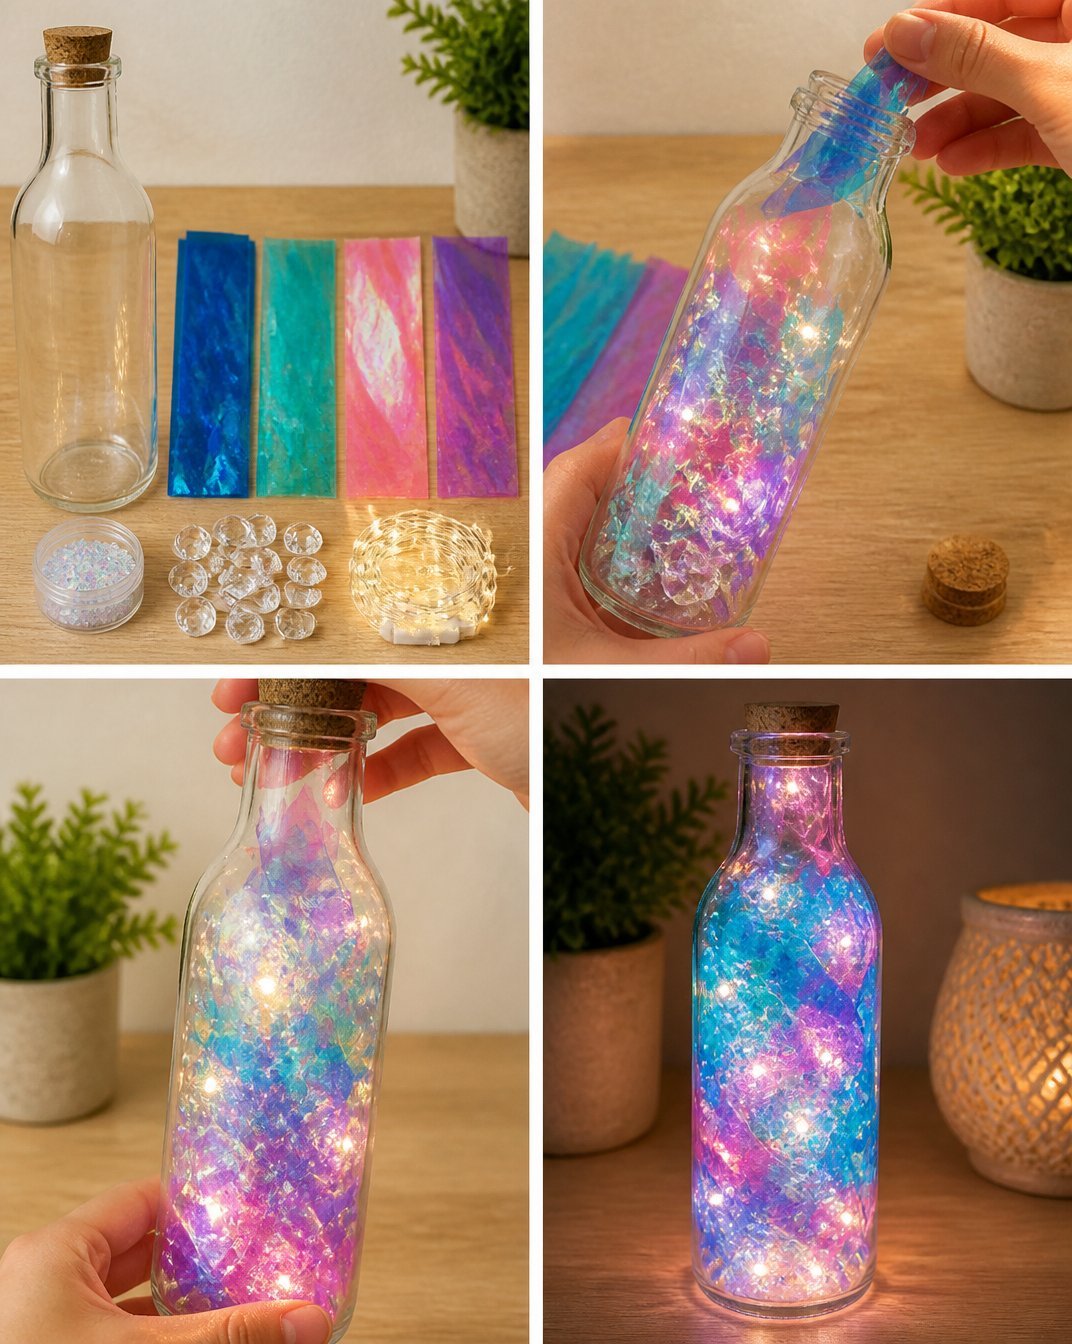
A Quick Look at How It Works
Making this lantern is like capturing a fleeting rainbow in a bottle. By layering iridescent cellophane and other bright materials inside, you create a magical light show when the LED lights shine through. The light passing through the various textures and colors refracts in beautiful ways, creating captivating patterns. This simple science makes the project not only fun but also an excellent way to learn about how light interacts with different materials.
Materials You Will Need
Gathering your materials is the first step to crafting your Glowing Aurora Bottle Lantern. Here’s what you need:
- 1 clear bottle (any size works; the bigger, the brighter)
- Iridescent cellophane in blue, turquoise, pink, and violet
- Holographic flakes (optional for extra sparkle)
- Clear acrylic gems (for added texture)
- Micro LED lights (battery-powered, for convenience)
These supplies are easy to find in local craft stores or online. Feel free to get creative; if you do not have all the colors, use what you have!
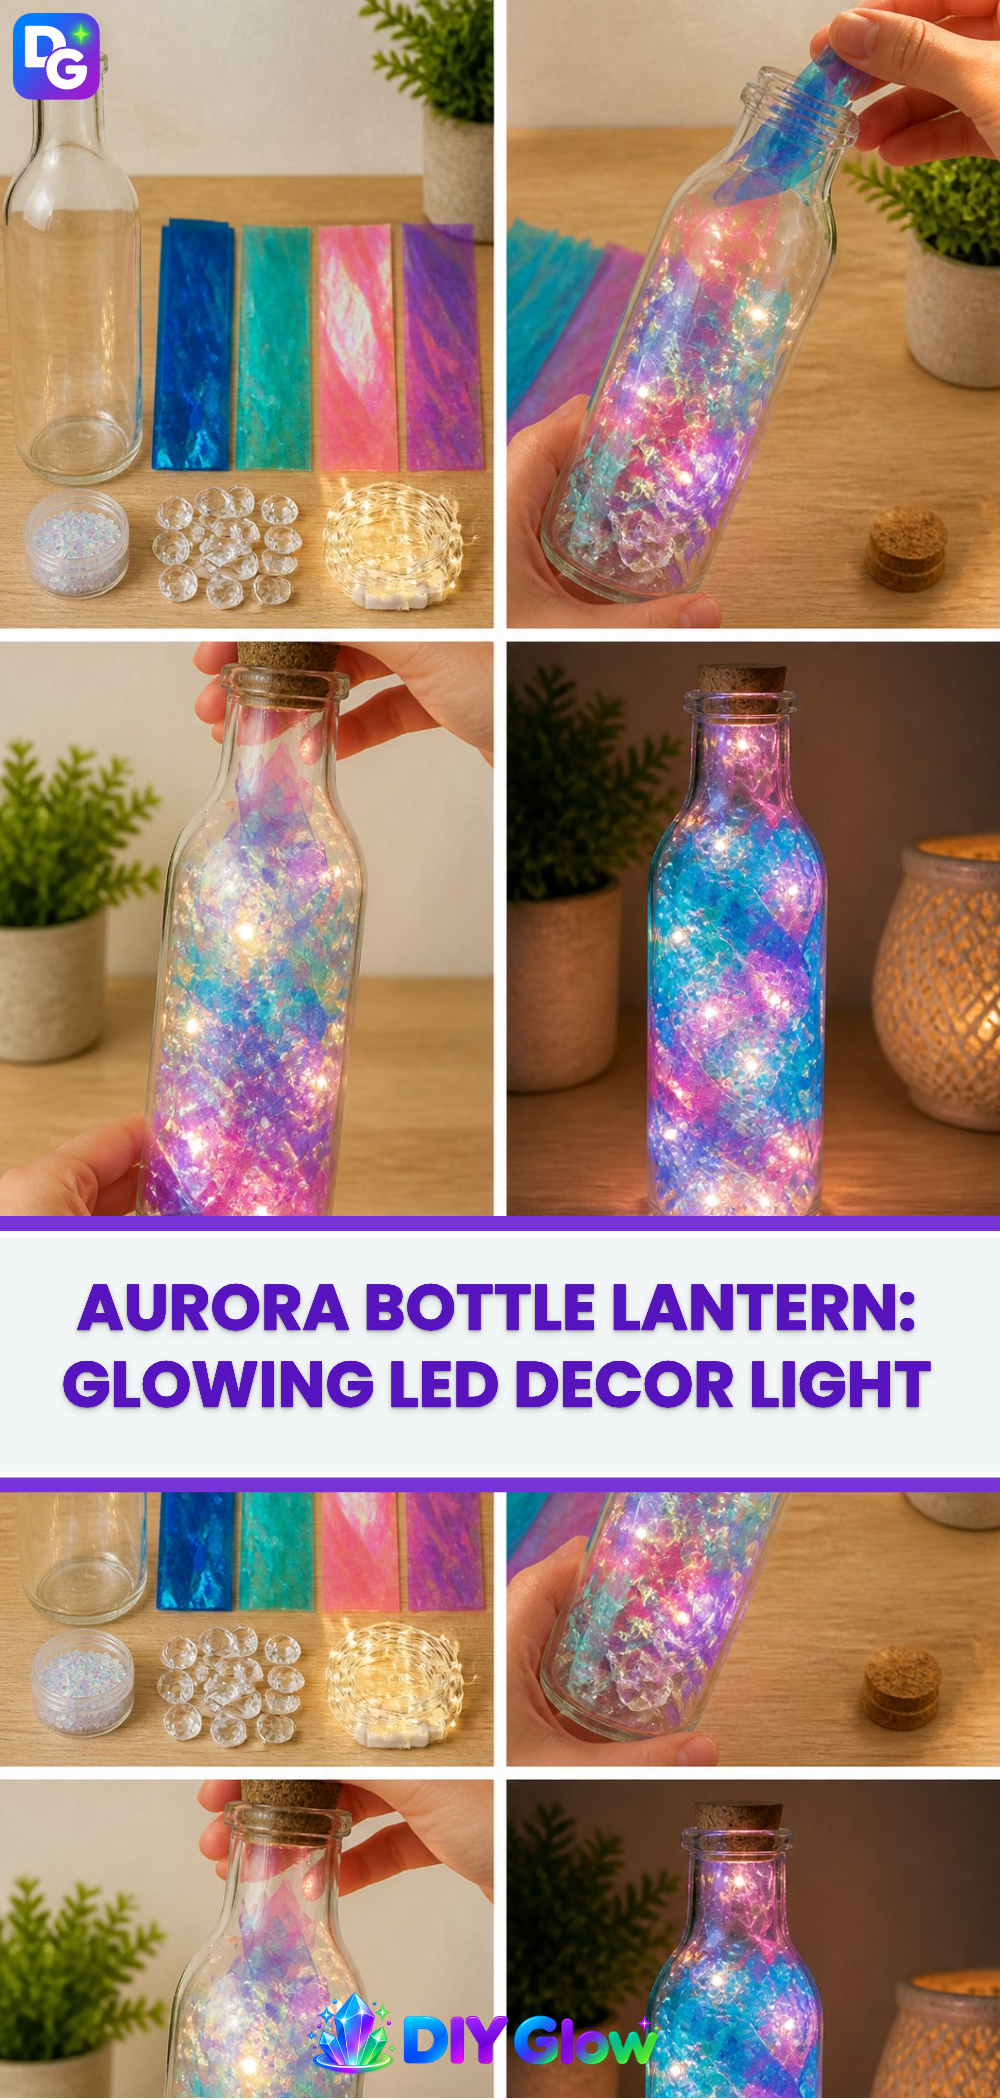
Step-by-Step Directions
Step-by-Step Directions
- Clean and dry the clear bottle thoroughly. Ensure it is free from any labels or residue.
- Cut the iridescent cellophane into thin strips. The thinner, the more light it will capture.
- Loosely layer the strips inside the bottle for light to pass through effectively. Watch as the colors blend beautifully.
- Sprinkle in a small amount of holographic flakes and several clear acrylic gems for texture and sparkle.
- Insert the battery-powered micro LED lights and switch them on for a beautiful glow. Position them well to illuminate the colors inside.
Safety reminder: If your child needs help with cutting or handling the bottle, ensure an adult is there to assist.
Displaying Your Finished Glowing Aurora Bottle Lantern
Now that your lantern shines beautifully, how should you display it? You could place it on a shelf, bedside table, or even in a window where the light can shine through during the day. This lantern also makes a wonderful gift for friends or family, bringing a burst of color and warmth wherever it goes. You could use it as part of a nighttime routine, creating a soothing atmosphere for bedtime stories.
Keeping Your Glowing Aurora Bottle Lantern Looking Great
To keep your Glowing Aurora Bottle Lantern looking fantastic, store it in a safe place where it won’t get knocked over. You can easily dust it off with a soft cloth if it gathers dust. Because the materials are simple and non-perishable, your lantern can last for years if cared for properly. If the LED lights burn out, you can easily replace them, so your magical glow can continue.
Fun Tips and Colorful Variations
Get creative with your Glowing Aurora Bottle Lantern! Here are some fun variations to try:
- Use different shapes and sizes of bottles for unique looks.
- Experiment with other colors of cellophane or beads to change the mood.
- Add in seasonal charms like stars for winter or flowers for spring.
- Make a mini lantern by using a small bottle, perfect for tabletop decorations.
Let your imagination lead the way; there are no strict rules here!
FAQs About Glowing Aurora Bottle Lantern
Will it really glow?
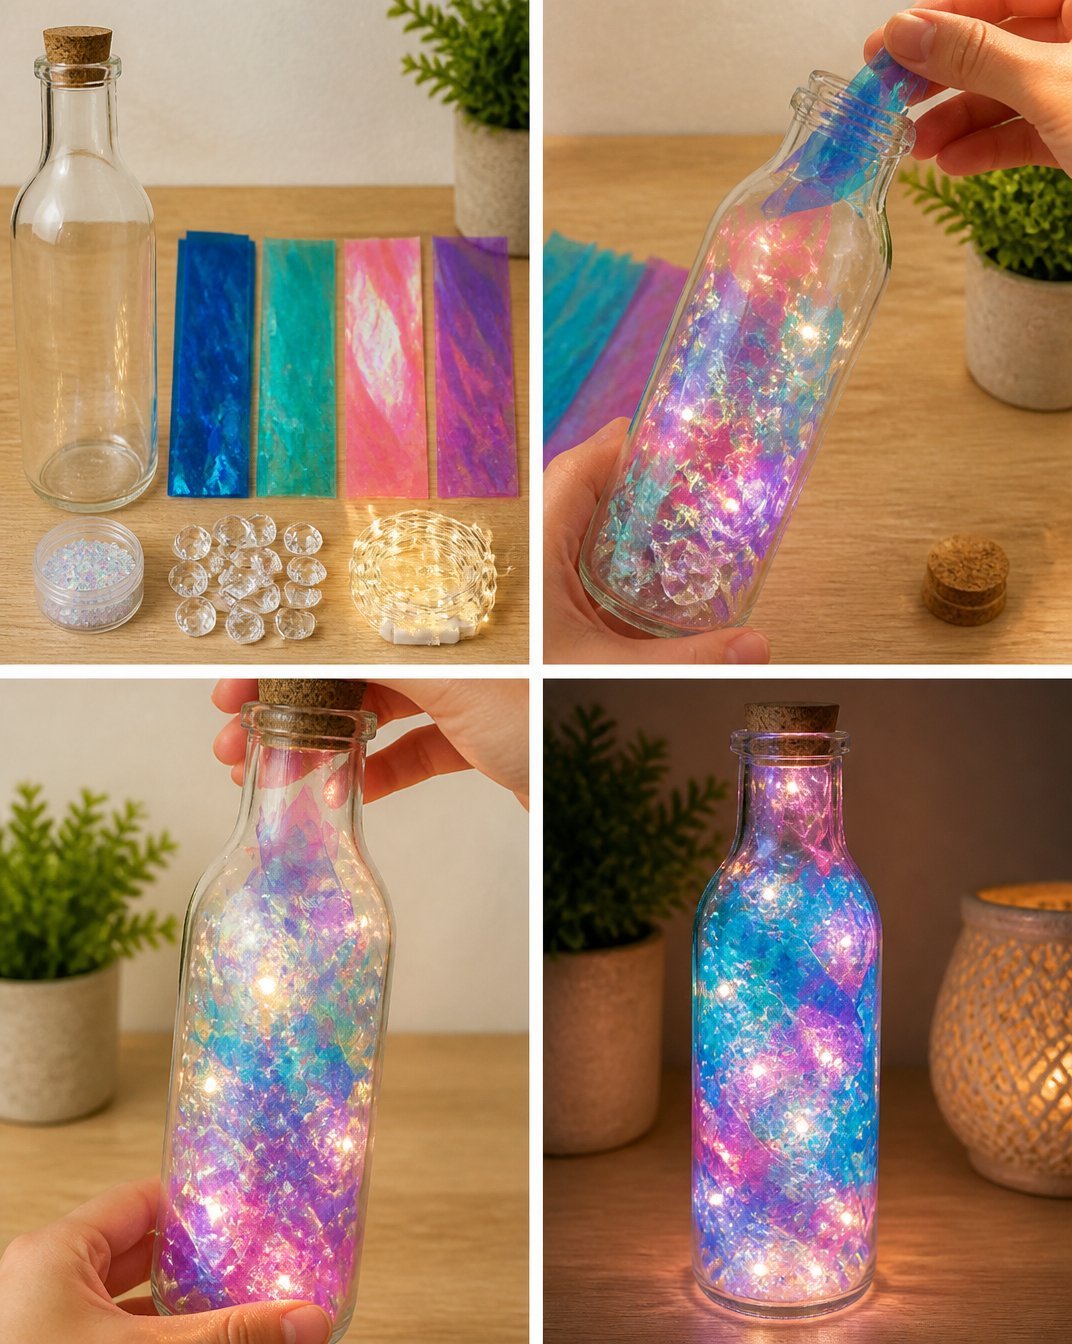
Yes! Once you switch on the micro LED lights, the light will shine through the colored layers, creating a beautiful glowing effect.
Is it safe for kids?
Definitely! Just be mindful when cutting or handling small parts. An adult should supervise those parts of the project.
How long does it take to make?
The entire process can take around 30 minutes to an hour, depending on how detailed you want to be.
Why didn’t mine turn out as expected?
Sometimes, it might be due to how tightly or loosely you layered the materials. Make sure to let the light pass freely through the layers for the best glow.
Can I use other materials?
Absolutely! You can substitute the cellophane with colorful tissue paper or use different kinds of embellishments. Stay playful!
A Little Note Before You Go
Remember that creativity is all about exploration and fun. The Glowing Aurora Bottle Lantern invites you to experiment with colors and textures while making something beautiful. Enjoy the journey of crafting as much as the final result. This project is a wonderful way to spark curiosity and bring a little magic into your home. Let your imagination shine and celebrate the dazzling moments you create together!
Follow us on social for more DIY ideas & inspiration!
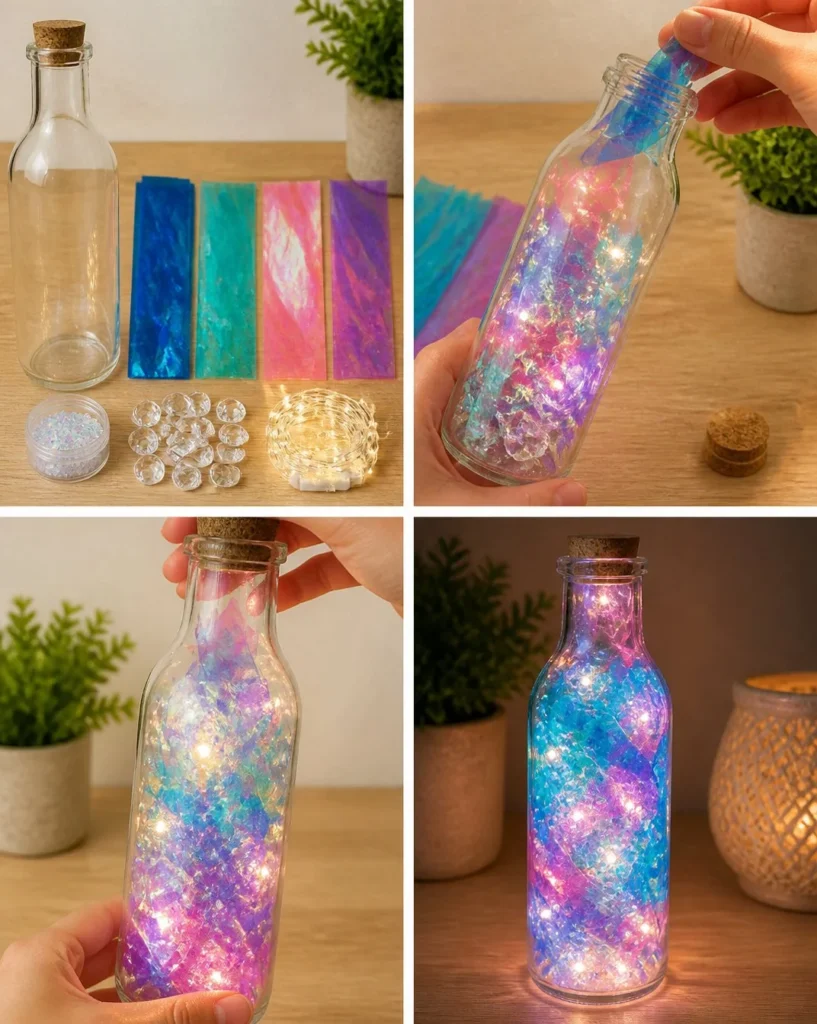
Glowing Aurora Bottle Lantern
Would you like to save this project?
By submitting you agree to receive this project and occasional emails. Unsubscribe anytime.
Materials
Materials
- 1 bottle Clear bottle (any size) The bigger the bottle, the brighter the glow.
- 4 colors Iridescent cellophane (blue, turquoise, pink, violet) Other colors can be used if preferred.
- to taste Holographic flakes (optional) Adds extra sparkle.
- several Clear acrylic gems For added texture.
- 1 set Micro LED lights (battery-powered) For convenience and ease of use.
Directions
Preparation
- Clean and dry the clear bottle thoroughly. Ensure it is free from any labels or residue.
- Cut the iridescent cellophane into thin strips. The thinner the strips, the more light it will capture.
- Loosely layer the strips inside the bottle, allowing light to pass through effectively to enhance the color blending.
- Sprinkle in a small amount of holographic flakes and several clear acrylic gems for added texture and sparkle.
- Insert the battery-powered micro LED lights and switch them on to see a beautiful glow. Ensure they are well-positioned to illuminate the colors inside.
Last Step: Don’t forget to leave a rating and comment below! It helps other readers find the best DIY projects — and it helps us too!