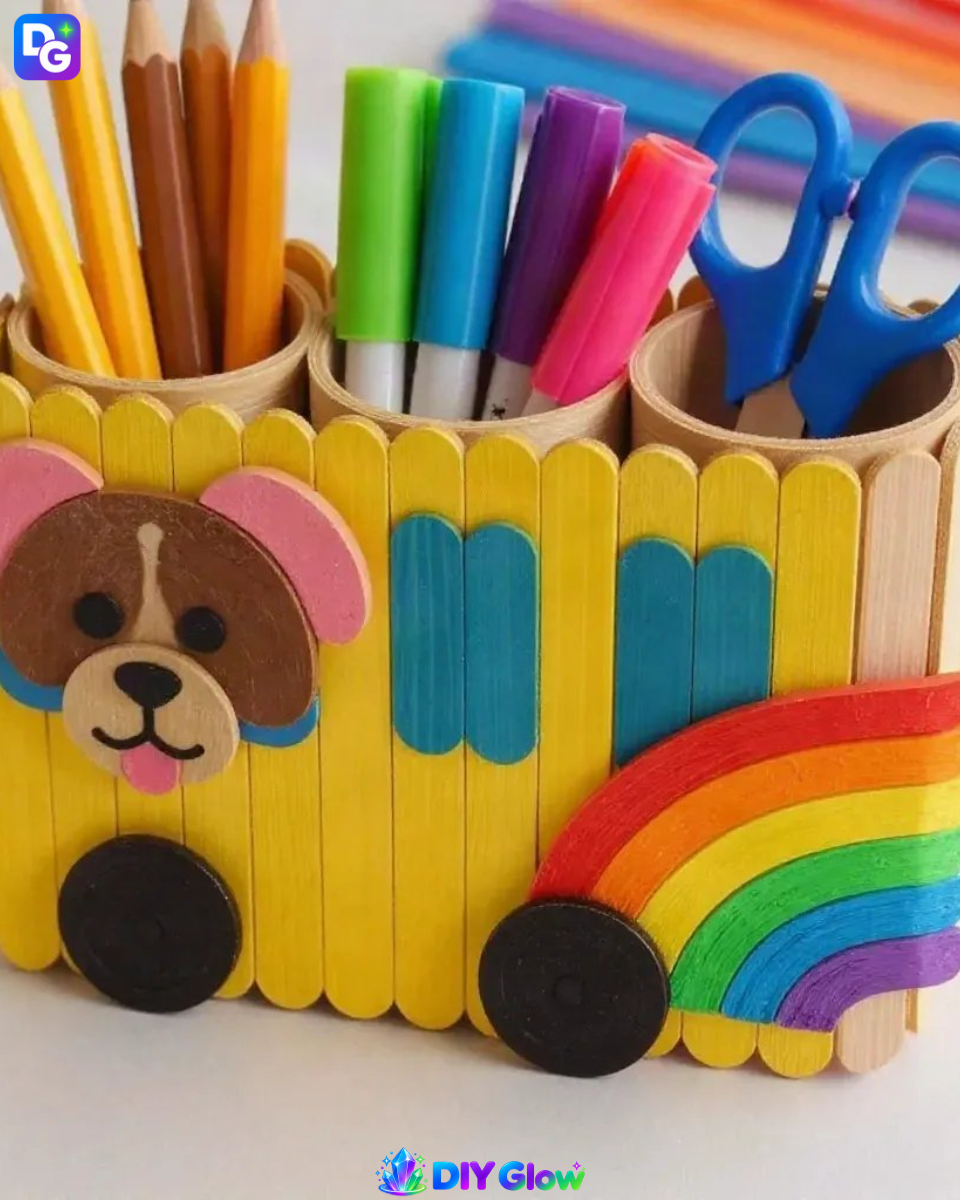
The Popsicle-Stick Organizer: Rainbow Puppy School Bus Craft for Kids comes to life through vibrant colors and creative design. As you complete each step, the transformation is captivating, making it an engaging project for any workspace or play area. This craft not only looks delightful but serves a practical purpose of organizing school supplies in a fun and imaginative way. You may also find Baking Soda Rainbow Crystal Forest Rainbow Crystals useful.
What Makes This Work
The combination of materials adds texture and color, enhancing the overall appearance of the bus. The bright yellow craft sticks and colorful cardstock create a cheerful atmosphere, while the blue acetate windows add a unique visual touch. This project’s appeal stems from both its function and its aesthetic charm, ensuring that it stands out wherever it is displayed. For more creative ideas, consider exploring DIY flower salt painting for kids.
Materials
Here’s what you need to get started: You may also find Diy Flowers Salt Painting For Kids Cozy useful.
- 25 jumbo craft sticks
- Yellow paint
- 3 cardboard tubes
- Rainbow cardstock
- Clear blue acetate
- Clear pink felt
- Brown felt
- Black buttons
- Glue
Make sure to gather all materials before starting your project.
Steps
Prep the Craft Sticks: Start by painting all craft sticks yellow. Allow them to dry completely. Once dry, glue them around the cardboard tubes. This step sets a solid foundation for your bus, so ensure each stick is securely positioned.
Add Windows and Wheels: Next, cut pieces of blue acetate to fit the bus windows. Attach these cutouts to the cardboard tubes. To create wheels, glue black buttons to the bottom of each tube, providing a sturdy and fun look.
Create the Puppy Face: Cut a puppy face shape from the brown felt. Attach it inside one of the bus windows. This gives character to your craft and makes it more engaging for kids.
Add Ears and Rainbow Details: From the pink felt, cut out two ears. Glue them above the puppy face to create an adorable look. Use the rainbow cardstock to create colorful arcs that represent rainbows, enhancing the bus’s design cheerful theme.
Fill the Bus with Supplies: Finally, load the tubes with school supplies like crayons, markers, or pencils. This step not only adds functionality but also makes the bus more interactive.
As you work on the bus, pay attention to how the colors blend and the textures contrast. The lively colors will inspire creativity and make it a centerpiece in any room. If you’re looking for additional crafts, consider checking out kids bubble snake craft for further inspiration.
What Goes Wrong and How to Fix It
Sometimes glue might not hold as expected, or paint might chip off. If the glue fails, try using a stronger adhesive like hot glue for better durability. If the paint chips, a quick touch-up should suffice. It’s essential to ensure all pieces are firmly attached, especially if children will be handling the bus regularly.
Where to Display It
This colorful organizer can brighten up any room. Place it on a desk, a shelf, or even a window sill. The vibrant colors will catch the light and attract attention, making it an excellent decor piece as well. After finishing, look for a perfect spot where it can serve both as an art display and a practical organizer.
Variations
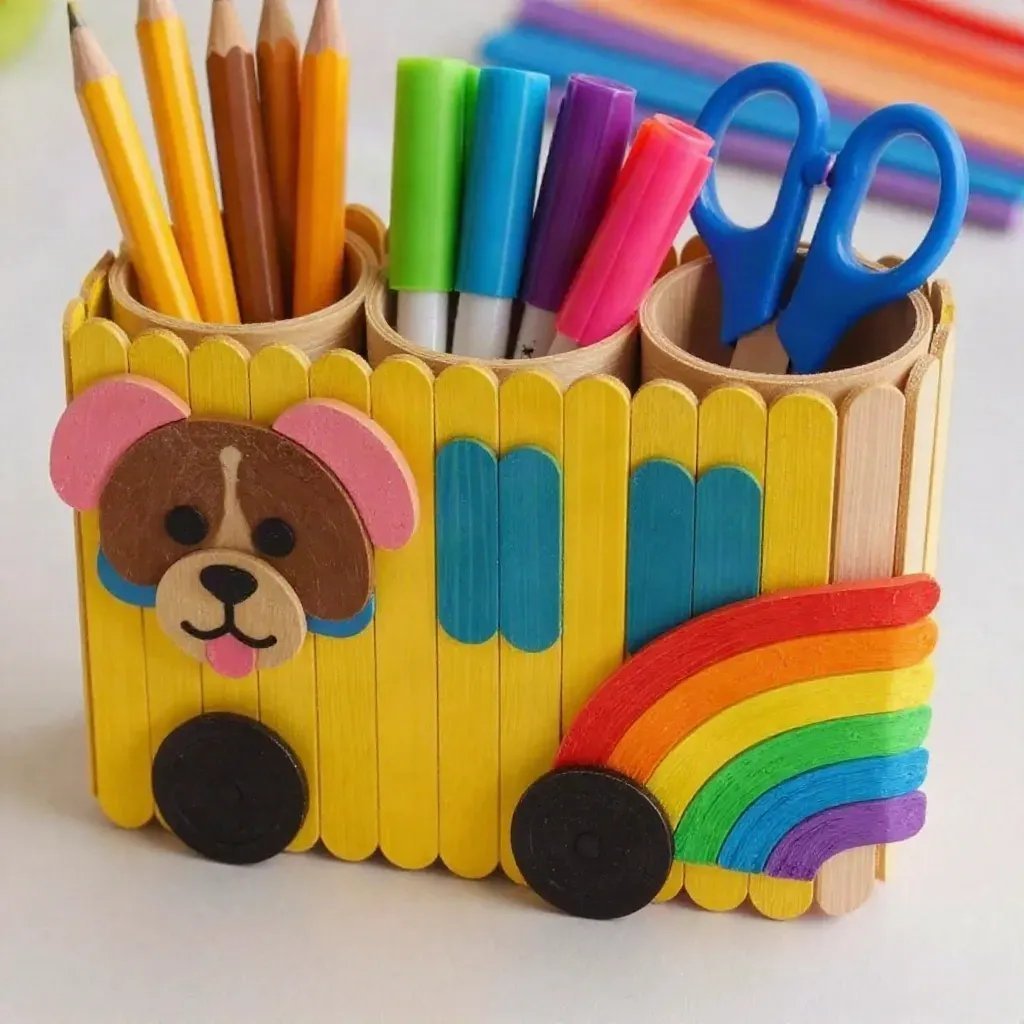
There are many ways to adapt this project. You can use different colors for the bus or even create other animal faces. Adding stickers or other embellishments can make each bus unique. Feel free to experiment with the materials and personalize the design.
FAQs
How can I make this project more challenging?
You can incorporate additional features like lights or sounds. Using a small battery-operated light can make it even more eye-catching.
What if I don’t have all the materials?
You can substitute some items. For instance, paper can replace felt, and any colored bottle caps can serve as wheels.
How long does it take to dry?
The drying time can vary depending on the type of glue and paint used. Generally, it may take a few hours for the paint to dry completely and more time for the glue to set.
Can young children help with this craft?
Yes, but supervision is advised. Children can paint, glue, and arrange supplies, making it an excellent collaborative project.
What are other similar craft projects for kids?
If you’re interested in more projects, check out baking soda rainbow crystal forest for another exciting and colorful activity.
How sturdy is the organizer?
The stability largely depends on how well the craft sticks are glued and arranged. Ensure that everything is securely attached for best results.
Conclusion
Creating the Popsicle-Stick Organizer: Rainbow Puppy School Bus Craft for Kids not only encourages creativity but also results in a functional piece that children can enjoy. If you’re interested in more similar activities, check out rainbow activities for kids’ busy bags or explore an engaging interview with Sarah Kurpiel to discover further inspiring ideas. Happy crafting!
Follow us on social for more DIY ideas & inspiration!
Popsicle-Stick Organizer: Rainbow Puppy School Bus Craft
Would you like to save this project?
By submitting you agree to receive this project and occasional emails. Unsubscribe anytime.
Materials
Main Materials
- 25 pieces jumbo craft sticks
- 1 can yellow paint For painting craft sticks
- 3 pieces cardboard tubes Used as the base structure
- 1 pack rainbow cardstock For decorative arcs
- 1 piece clear blue acetate For the bus windows
- 1 piece clear pink felt For making the ears
- 1 piece brown felt For crafting the puppy face
- 4 pieces black buttons To serve as wheels
- 1 tube glue For attaching all pieces together
Directions
Preparation
- Start by painting all craft sticks yellow. Allow them to dry completely.
- Once dry, glue the craft sticks around the cardboard tubes to form the body of the bus.
Assembly
- Cut pieces of blue acetate to fit the bus windows and attach them to the cardboard tubes.
- Glue black buttons to the bottom of each tube to create wheels.
- Cut a puppy face shape from the brown felt and attach it inside one of the bus windows.
- From the pink felt, cut out two ears and glue them above the puppy face.
- Use the rainbow cardstock to create colorful arcs that represent rainbows and enhance the bus design.
Finishing touches
- Finally, fill the tubes with school supplies like crayons, markers, or pencils.
Last Step: Don’t forget to leave a rating and comment below! It helps other readers find the best DIY projects — and it helps us too!